What to Expect During a Water Heater Replacement or Installation
Replacing or installing a water heater is a major home project that can feel intimidating if you haven't gone through it before. Whether you're planning a water heater replacement because your current unit is old, failing, or you simply want an upgrade to a more efficient model, understanding the process ahead of time will help you approach the job with confidence. This guide walks you through the signs that it's time for a new unit, how to prepare, what actually happens during installation, the permits and safety checks involved, and practical tips for a smooth installation day. Along the way, you'll also learn how to extend the life of your new system so your water heater replacement is a smart, long-lasting investment.
Preparing for Your Water Heater Replacement
Good preparation makes the water heater replacement process smoother and helps you avoid unexpected delays and costs. Start by assessing your household needs: think about how many bathrooms you have, peak times for hot water use, and whether your current capacity is adequate. If your hot water demand has changed—perhaps due to a new family member or addition of appliances—it might be the right time to switch to a different capacity tank or consider a tankless system. Research different types of units and the relative pros and cons so you can discuss options intelligently with your installer.
Budgeting is a practical step in preparation. Costs for a water heater replacement vary widely depending on the unit type, energy source, installation difficulty, and any necessary upgrades to plumbing or venting. Get multiple quotes from local contractors and factor in not only the price of the new water heater but also labor, potential permit fees, and any ancillary work. Finally, clear the installation area and ensure technicians will have easy access to the unit location, whether it's in a basement, garage, or utility closet. Having the space prepped and utilities accessible reduces installation time and minimizes disruption during the water heater replacement.
What Happens During the Installation Process
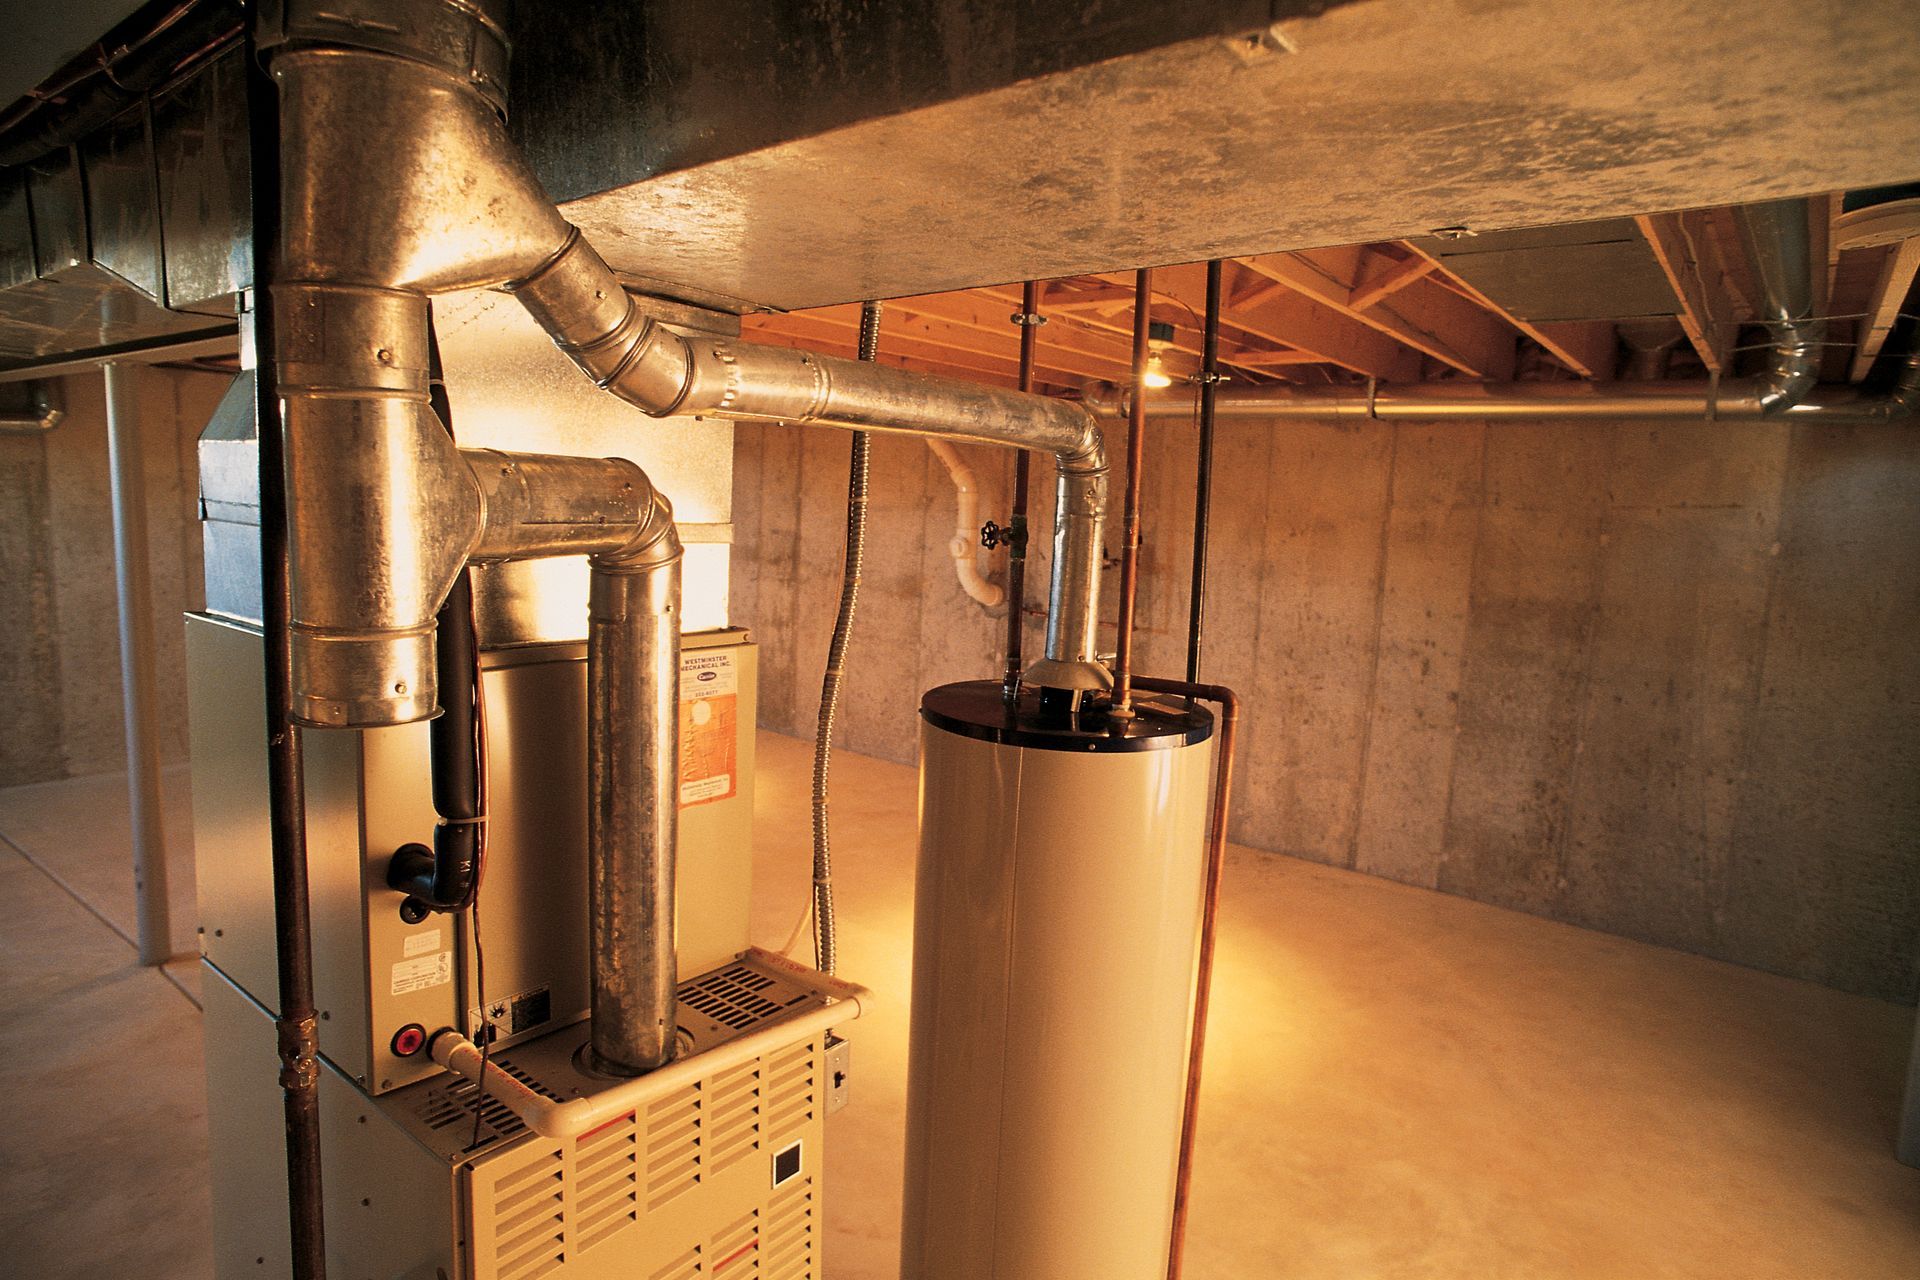
The installation process for a water heater replacement typically follows a clear sequence of steps designed to remove the old unit safely and install the new one correctly. First, the installer will isolate the water supply and power or gas source to the existing heater, then drain and disconnect the old tank if it's a tank model. If the project involves a tankless conversion or relocating the unit, additional plumbing and venting work may be needed to meet code and ensure optimal performance. Installers check for signs of corrosion or damage in existing lines and recommend repairs or upgrades as needed to support the new system.
Once the old unit is removed, the new water heater is positioned and connected to water, gas, or electrical lines as appropriate. Installers will insulate exposed pipes, test pressure relief valves, and verify that all connections are secure. After final plumbing and combustion (for gas) or electrical connections are made, the system is filled and purged of air, then powered on so the installer can test it under normal operating conditions. According to This Old House, installing a standard tank water heater typically takes one to three hours, while tankless models requirefour to six hours to complete, including any gas, electrical, and venting work. During a water heater replacement, contractors also inspect nearby structures for leaks and ensure that drainage, venting, and expansion tanks (if required) are installed and functioning correctly.
Permits, Codes, and Safety Requirements
Permits and local code compliance are essential parts of a legitimate water heater replacement. Many municipalities require permits for changing fuel types, relocating units, or altering gas, venting, or electrical systems. Pulling the correct permits ensures the work is inspected and verified to meet safety standards. A licensed contractor typically handles permit applications and scheduling inspections, but as a homeowner it's wise to confirm that permits are in place before work begins. Ensuring code compliance protects your family from hazards such as carbon monoxide leaks, water damage, and electrical issues, and it preserves the value of your home by keeping your records in good order.
Safety checks during installation include verifying proper venting for gas units, ensuring clearances are maintained for combustion air, and installing pressure relief valves and drains in accordance with code. Electric water heater replacements require correct wire sizing, breakers, and secure electrical connections to prevent overheating and shock hazards. Installers should also check for proper seismic strapping in areas where this is required, and for safe drainage slopes to carry away overflow or discharge from relief devices. By following local regulations and manufacturer instructions during a water heater replacement, your installer helps ensure the system operates safely and reliably for years to come.
Tips for a Smooth Installation Day
A little planning before installation day goes a long way toward minimizing disruption and ensuring the job runs efficiently. Confirm the appointment window with your contractor and make sure the installation area is accessible: remove storage items, clear a path to the unit, and secure pets and children away from the work area. If your water heater is in a utility closet or tight space, consider temporarily relocating nearby items so the installer has room to work safely. Having a clear workspace speeds up the process and reduces the chance of accidental damage to personal belongings during a water heater replacement.
Communicate expectations with your contractor ahead of time. Let them know if you have specific scheduling constraints, any concerns about noise, or whether you need help with temporary hot water arrangements during the swap. Ask the installer to walk you through the plan for the day and to explain how long they expect the water to be down. If your home will be without hot water for several hours, planning a short stay elsewhere or scheduling the job when hot water is less critical can be helpful. Also, request that the installer provide a checklist of what they will leave behind: warranty paperwork, user manuals, and any routine maintenance suggestions following your water heater replacement.
During installation, be available to answer questions and make decisions if surprises arise. Experienced contractors often encounter minor issues—older piping that needs upgrading, unexpected fittings, or minor masonry work for venting—that require quick choices about scope and cost. Having a pre-authorized budget for small contingencies or asking the contractor to call before authorizing extras avoids delays and lost time. Finally, perform a final walk-through with the installer after the job is finished to confirm they tested the unit, showed you how to operate it, and left the area tidy. These steps help ensure your water heater replacement concludes with a functioning system and no loose ends.
Planning and understanding are the keys to a successful
water heater replacement. From recognizing the early warning signs to preparing your home, navigating permits, and caring for the new unit after installation, each step plays a role in ensuring the job goes smoothly and the system performs well for years to come. Whether you choose a traditional tank or a modern tankless model, a thoughtful approach to replacement will provide dependable hot water and peace of mind. When you need a water heater replacement, get in touch with our team at Little Boy Blue Plumbing & Heating Inc.

Share On: